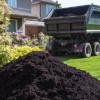
A healthy lawn starts long before the first blade of grass appears. It begins beneath the surface. Properly prepared lawn installation soil is the foundation for drainage, root development, and long-term resilience.
Many homeowners in Russell face issues like brown patches, pooling water, or grass that fails to survive the winter. In most cases, the root cause is poor soil preparation. If you want a lawn that thrives in Eastern Ontario’s climate, start with expert techniques and quality lawn installation soil from Nick’s Landscaping Depot.
Why Soil Preparation Matters for Lawn Success
Soil acts as the life support system for your grass. It holds moisture, delivers nutrients, and anchors roots against foot traffic and frost heave. Poorly prepared soil leads to shallow roots, weed invasion, and rapid die-off during summer dry spells. In Russell, seasonal temperature shifts can exceed 40 degrees annually. This constant freeze-thaw cycle impacts soil structure dramatically.
Proper lawn installation soil preparation reduces these risks by:
- Improving root penetration by up to 60 percent
- Reducing water pooling by over 50 percent
- Lowering long-term maintenance costs significantly
Essential Steps for Preparing Lawn Installation Soil
Step 1: Conduct a Soil Assessment
Before you amend anything, you must understand what you currently have. Guessing leads to wasted money and poor results.
Three simple tests to perform:
| Test Type | How to Perform | What It Tells You |
| Texture Test | Squeeze moist soil in your hand | Clay forms a tight ball; sandy soil falls apart |
| Compaction Test | Push a screwdriver into the ground | Difficult penetration means severe compaction |
| pH Test | Use a kit from Nick’s Landscaping Depot | Most grasses need 6.0 to 7.0 |
Eastern Ontario soil tends to be naturally acidic due to forest decomposition and rainfall patterns.
Step 2: Clear and Grade the Area
Proper preparation begins with a clean slate. Remove all existing vegetation, including weeds, old grass, and perennial roots. For small areas, manual removal with a flat shovel works well. For larger projects, consider renting a mechanical sod cutter.
Once vegetation is removed, clear the area of:
- Stones larger than two centimetres
- Construction debris
- Buried wood fragments
Step 3: Amend for Texture and Organic Matter
Native landscaping materials rarely provide the ideal balance of sand, silt, and clay. Amending corrects these deficiencies.
For clay soils:
- Incorporate three to five centimetres of coarse sand
- Add well-rotted compost to improve structure
- Sand creates microscopic channels for water movement
For sandy soils:
- Incorporate four to six centimetres of organic matter
- Use peat moss or aged compost
- Organic matter acts like a sponge, holding water for roots
Step 4: Adjust pH and Nutrient Levels
Once texture is corrected, address chemistry.
- If your soil test reveals a pH below 6.0, apply agricultural limestone to raise it
- If your soil test shows a pH above 7.2 apply elemental sulphur to lower it
Starter fertilizer requirements:
- Choose a fertilizer high in phosphorus for root development
- Avoid high-nitrogen fertilizers at establishment time
- High nitrogen encourages leaf growth at the expense of roots
Step 5: Till and Incorporate Thoroughly
Amendments only work if they are mixed properly into the root zone. The active root zone for turf grass extends fifteen to twenty centimetres deep. Till or rototill the entire area to that depth.
Important tilling guidelines:
- Make your first pass in one direction
- Make a second pass perpendicular to the first
- Break up all large clods until soil texture resembles fine crumbs
- Avoid tilling when the soil is wet
After tilling:
- Rake the surface smooth
- Run a lawn roller half-filled with water over the area
- Fill low spots with additional lawn soil and roll again
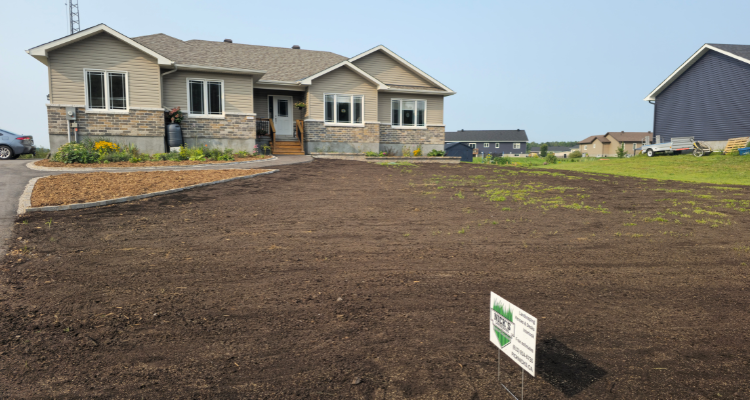
Step 6: Final Grading and Settlement
Before seeding or laying sod, allow the prepared soil to settle naturally.
- Water the area thoroughly with a fine spray
- Wait two to three days for drainage and settlement
- Identify and correct remaining low areas
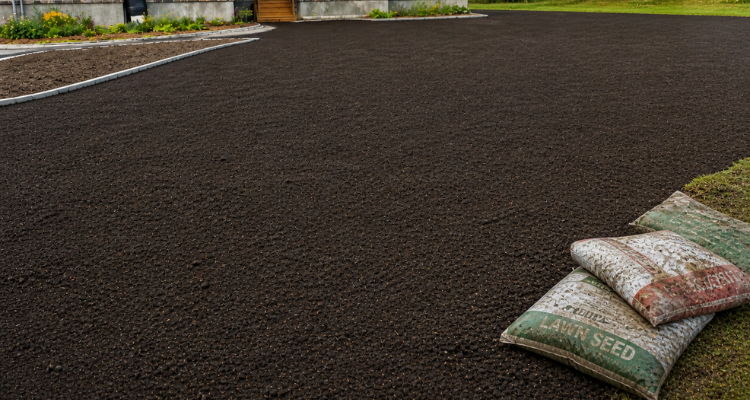
Final surface guidelines:
- For sod: soil should be about two centimetres below adjacent hard surfaces
- For seeding: surface can be slightly higher for proper seed contact
Common Mistakes to Avoid When Preparing Lawn Soil
Many homeowners underestimate how much preparation is required, leading to poor results and wasted money.
Frequent errors include:
- Working the soil when it is too wet
- Shallow tilling
- Skipping the soil test
- Ignoring drainage grading near foundations
- Adding too much organic matter
Avoiding these mistakes can reduce long-term costs by up to 40 percent.
Benefits of Buying Lawn Soil Locally in Russell
Local sourcing provides clear advantages for your lawn project.
Advantages of choosing Nick’s Landscaping Depot:
- Faster delivery
- Lower transportation costs for bulk materials
- Better understanding of local soil conditions
- Strong customer support and guidance
Where to Find Reliable Lawn Soil Installer in Russell
Choosing the right supplier is essential for success.
Look for:
- A wide product range
- Bulk delivery options
- Consistent, climate-tested material quality
- Knowledgeable staff familiar with local conditions
Conclusion
Preparing soil for a new lawn requires patience and attention to detail, but the results justify the effort. Properly prepared lawn installation soil produces grass that stays green with less watering, resists weeds without chemicals, and survives Eastern Ontario winters without significant dieback.
Nick’s Landscaping Depot is a trusted supplier of landscaping materials in Russell. The team focuses on quality, reliability, and local expertise. We provide bulk topsoil, compost, sand, gravel, and decorative stone for all types of projects.
Our goal is to help homeowners achieve long-lasting results through proper soil preparation and quality products. Call us today to get your lawn project started.